Wikki Stix can be cut and used to underline letter combinations in books you read outloud to a child. Turn any book into a phonics lesson! Books with glossy pages work best. Wikki Stix may leave a little color or rip a little paper if pressed on too hard or left on too long. I suggest you don't use Wikki Stix on library books, but the benefits of this activity may be worth a little damage to your own books.
The next pictures show underlining of "ou" in different books. Introduce the underlined sound.Have a child repeat the underlined sound. Separate the underlined sound when reading the word and have a child do the same with his or her own voice. Beginning readers will learn to identify common letter combinations, make the sounds for common letter combinations, and blend sounds from the beginning to the end of a word. A child will learn to decode words with some support from you and great books you would've read aloud anyway.
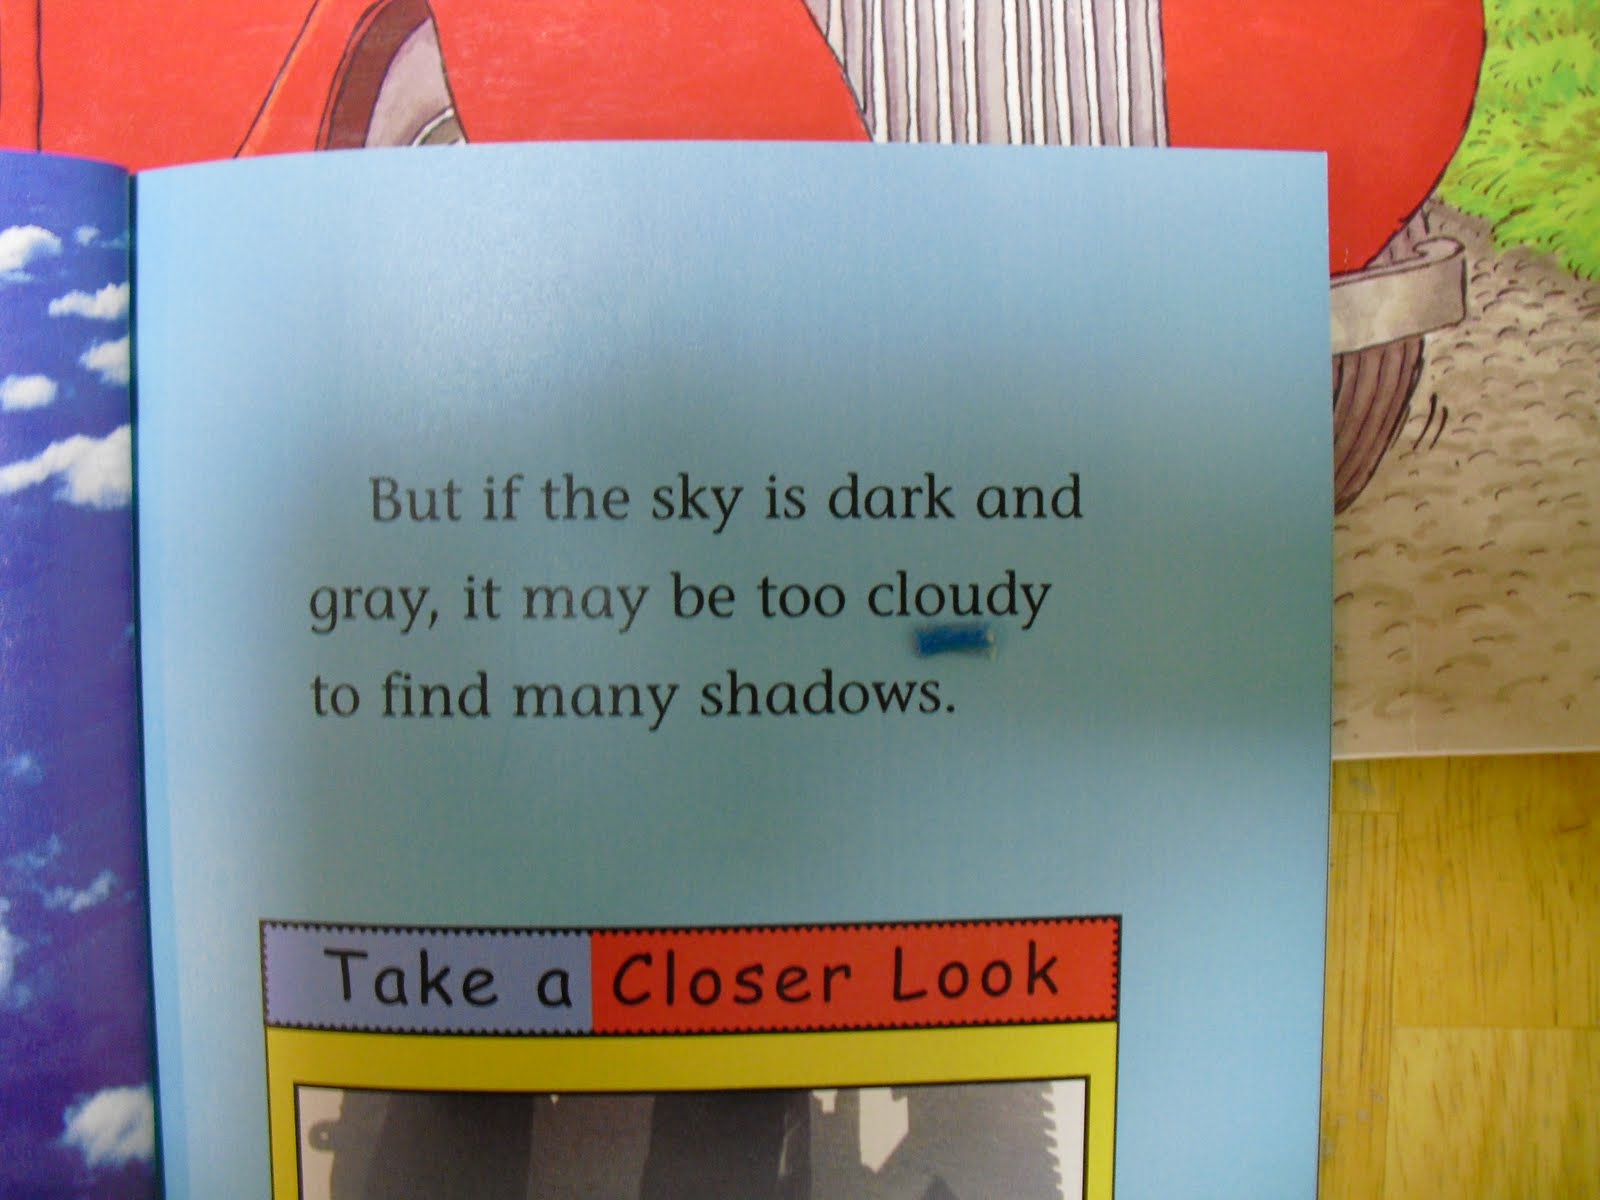
(CL - OU - DY)
(M - OU - SE)
(SH - OU - T)
(OU - T)
Here is a post with some other common phonograms to point out in books.
Use Wikki Stix to Teach Common Letter Combinations While Reading
My favorite way to teach letter formation is with finger paint! I like D'Nealian or Modern Manuscript printing. The schools in my area use this type of printing. It has a nice flow and makes transitioning to cursive easy for children.
Writing with finger paint is easy, fun, and a little messy. You'll love it! Tape a large piece of freezer paper with the shiny side up to a table or wall. Then glob enough finger paint on the paper to make a thick layered writing surface. Smear the paint and smooth it out. Click here for a video of my son getting his paper ready. Use the index finger of writing hand to write like a pencil. The white of the paper becomes the line you make.
I think teaching correct letter formation is important from the start. My oldest son started writing his name in preschool. He started making his lowercase "r" from the bottom. He also started his lowercase "m" and "n" from the bottom. Even after I taught my son the right way to form the letters, his hand and brain reverted back the way he had practiced.
Grouping letters by where they start and teaching ones that are similar helps teach proper formation quicker. In this video I show forming the letters a, c, d, and g.
Make it productive by only teaching as long as a young child has patience. (3-5 minutes) Give a child a little creative time. Allow mixing more paint, writing more letters or making designs. I suggest cleaning up after 10 minutes. The paint will start to dry out. Sometimes my children saved the last letters, words or designs they created.
I like Crayola Finger Paint, but it can get expensive.
Here's a link for homemade finger paint.
Writing can be a way to get a child ready to read. As a child writes a letter, say the sound for a letter and encourage the child to voice the sound while writing a letter.
What style of printing and cursive will you teach your child? There are many popular types of handwriting. I have shown D' Nealian or Manuscript in my videos since that is the type taught in our schools. If you are homeschooling, you can choose your favorite type of handwriting to teach. I suggest finding out what type is taught in the school your child will attend if you are not homeschooling. Zaner-Bloser D' Nealian Handwriting Without Tears